How Can We Help?
Wayroo sign-in & Merchant Account Setup
Your account information is synced with your Direct Sales company, with the exception of your password. In these steps, you will be prompted to reset your password for the app.
Note: You are not resetting your password to your back office, even though your email is the same.
- Go to Apple App Store or Google Play Store and search the app name.
Tip: Your welcome email will have the app name and links to the iOS and Google Play stores.
*Your account for Wayroo is automatically created when you sign(ed) up to become a consultant.
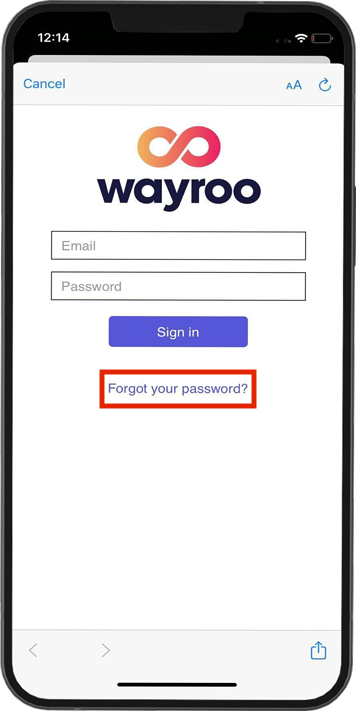
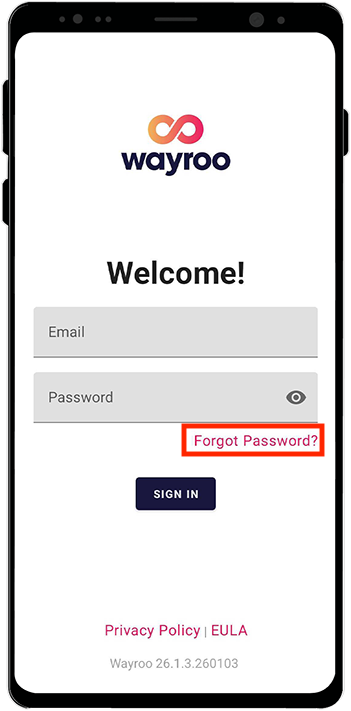
- Once installed, open the app and click on Sign In to do a first-time password setup.
- Click Forgot your password option and enter the email address you signed up with.
- Select Send Email.
- Check your email for a password reset link.
Tip: Check your spam folder if the email is not in your inbox.
- Follow the listed instructions.
Tip: This will not reset the password in the back office site. You can either use the same as your back office password or create a new one for the app. The new password must be at least 8 characters, at least one digit (‘0’-‘9’), and at least one uppercase letter (‘A’- ‘Z’).
- After resetting your password and signing in, follow the prompts on the screen to set up your Merchant Account so you can start accepting payments!